The creation anddevelopment of UI integration cards is currently done by populating a json file. This process is error prone and may lead to loss of significant time and patience due to a complex structure of the json file itself.
There is a better way to createUI integration cards without dealing with the json file itself. In this blog I will explain how this can be done:
- Launch SAP Business Application Studio (BAS) from your subaccount or trial.
- Create a Dev Space with a workzone extension :

When the Dev Space is created it should start automatically in a couple of minutes. Click over the Dev Space and BAS should initiate our working environment.
The
Get started window should appear when the dev nvironment is loaded. If not choose the
Hamburger Menu ->
File ->
New Project from template.
From Templates select
UI integration card and click
Start:

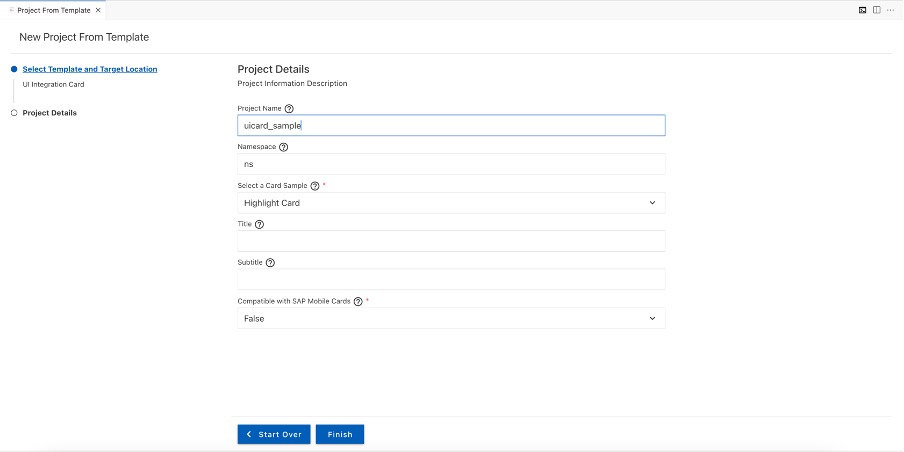
From the project details enter project name and click
Finish:
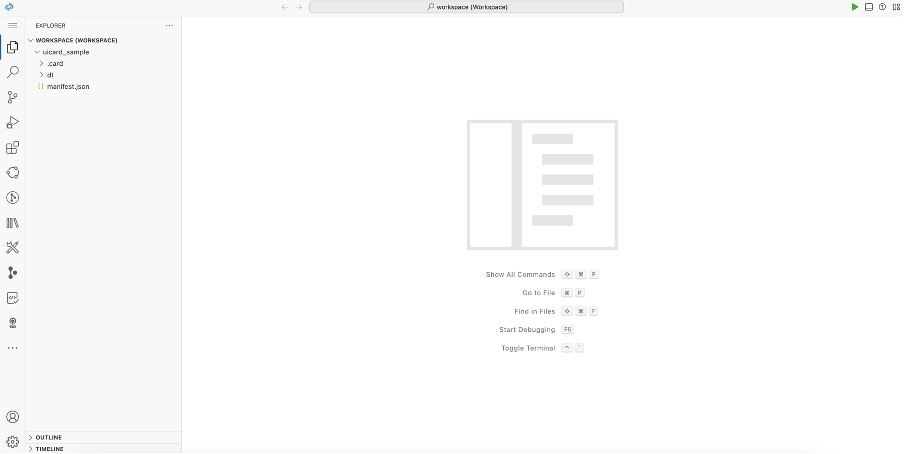
After this step our workspace should be set up and is ready for development:
Goto :
https://sapui5.hana.ondemand.com/test-resources/sap/ui/integration/demokit/cardExplorer/webapp/index...
Copy the sample json file from the right pane of the form:

You go back to BAS and click over manifest.json and replace the json file with the copied one from UI integration card templates.
To make sure that the json is fully copied and the template is the right one, right click over manifest.json and select
UI integration card: Preview:
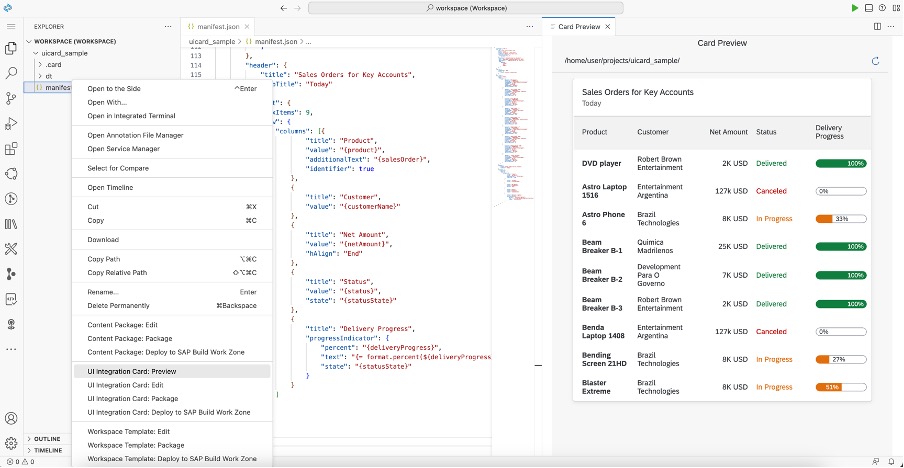
If the json file was copied successfully then
Card Preview window should visualize with template data.
Now we can start editing our card template as per our needs. Right click over manifest.json and select
UI Integration card Edit:

Then the Property Editor window should appear, where we will populate our data without worrying about the json structure:

Please fill out following properties in the “Card metadata section” as follows:
ID : card.explorer.features.demo
Version: 1.0.1
Title: Product Availability
The Card Metadata section should look like this after the changes:

The General Configuration section remains unchanged:

Data Configuration (Card) Section:
Delete “JSON Data field” since this contains static data where the UI card is visualizing.
For demo purposes we will be using Northwind sample data services.
Fill data request field with this URL:
https://services.odata.org/Experimental/Northwind/Northwind.svc/Products
Fill Data Path for JSON Root with /value/.
And Data Configuration (Card) Section should look like this:

Data Configuration (Content) Section
Fill Data request URL with following URL :
https://services.odata.org/Experimental/Northwind/Northwind.svc/Products
Fill Data Path for JSON Root as /value/.
After providing Data request URL Data, the Data Configuration (Content) Section should look like this:

Card Header Configuration section:
Fill Title: Product Availability
Fill Subtitle: Today
The Card header Configuration section after changes should look like this:

Content Configuration:
Initially we must delete all columns, which comes with the template.

Add these 5 columns: Product, Customer, Net Amount, Status, Delivery Progress by clicking add column button:

Customer:

Net Amount:

Status:

Delivery Progress:

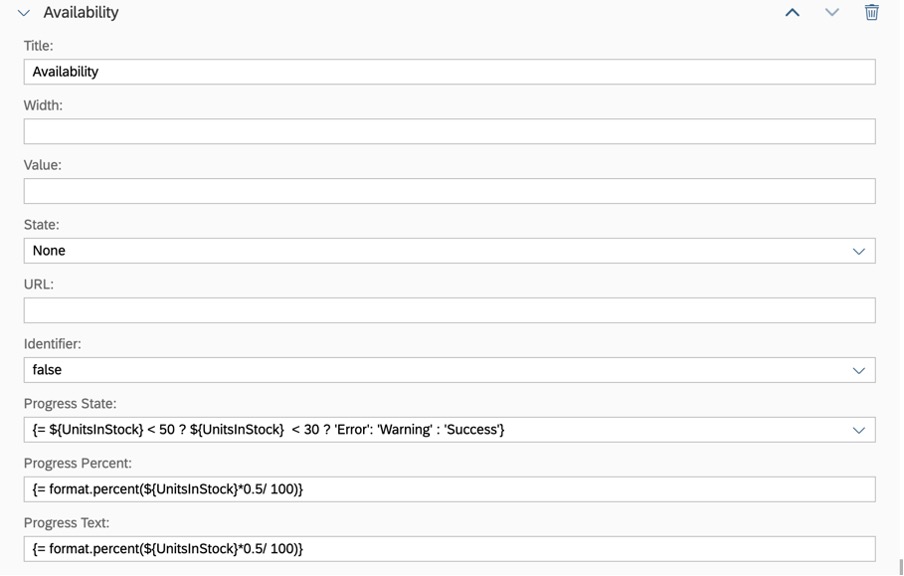
Availability:
We are now finished with the development of the UI integration card. Now we can check how it looks like directly in BAS. For this purpose right click over manifest.json and click UI Integration card preview:

The preview window will open and we will be able to see the fully functional UI integration card with dynamic data:

Enjoy!!!
